Standard Features on XPro系列焊接控制系统
1
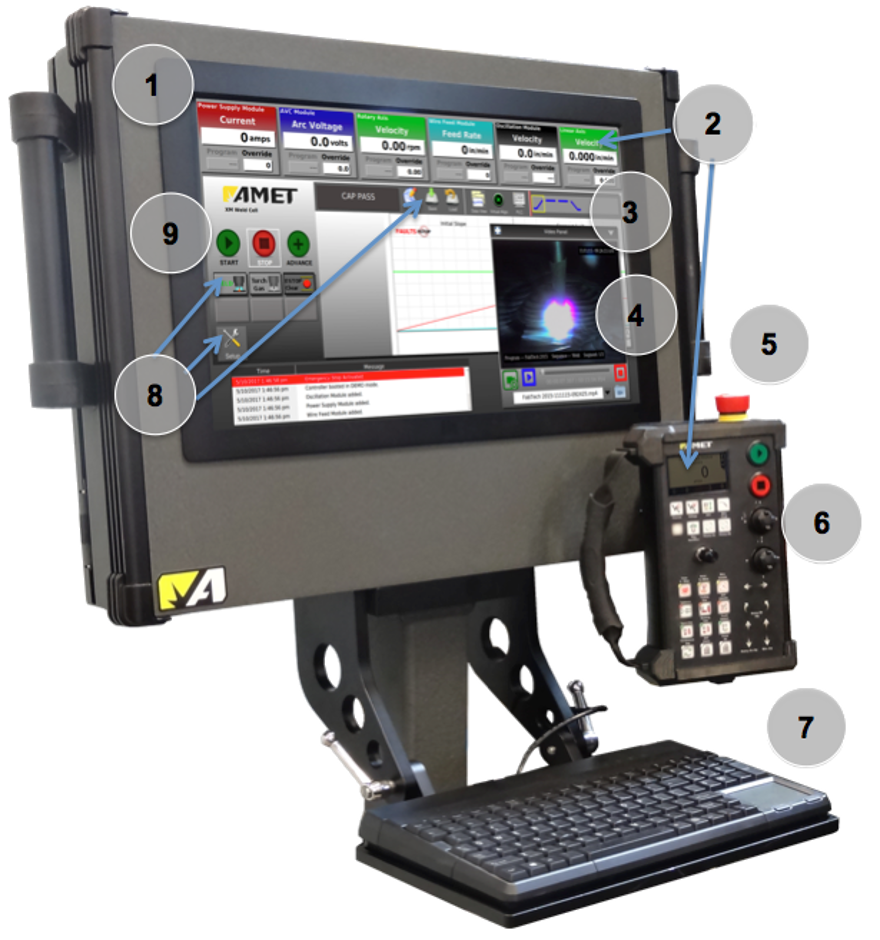
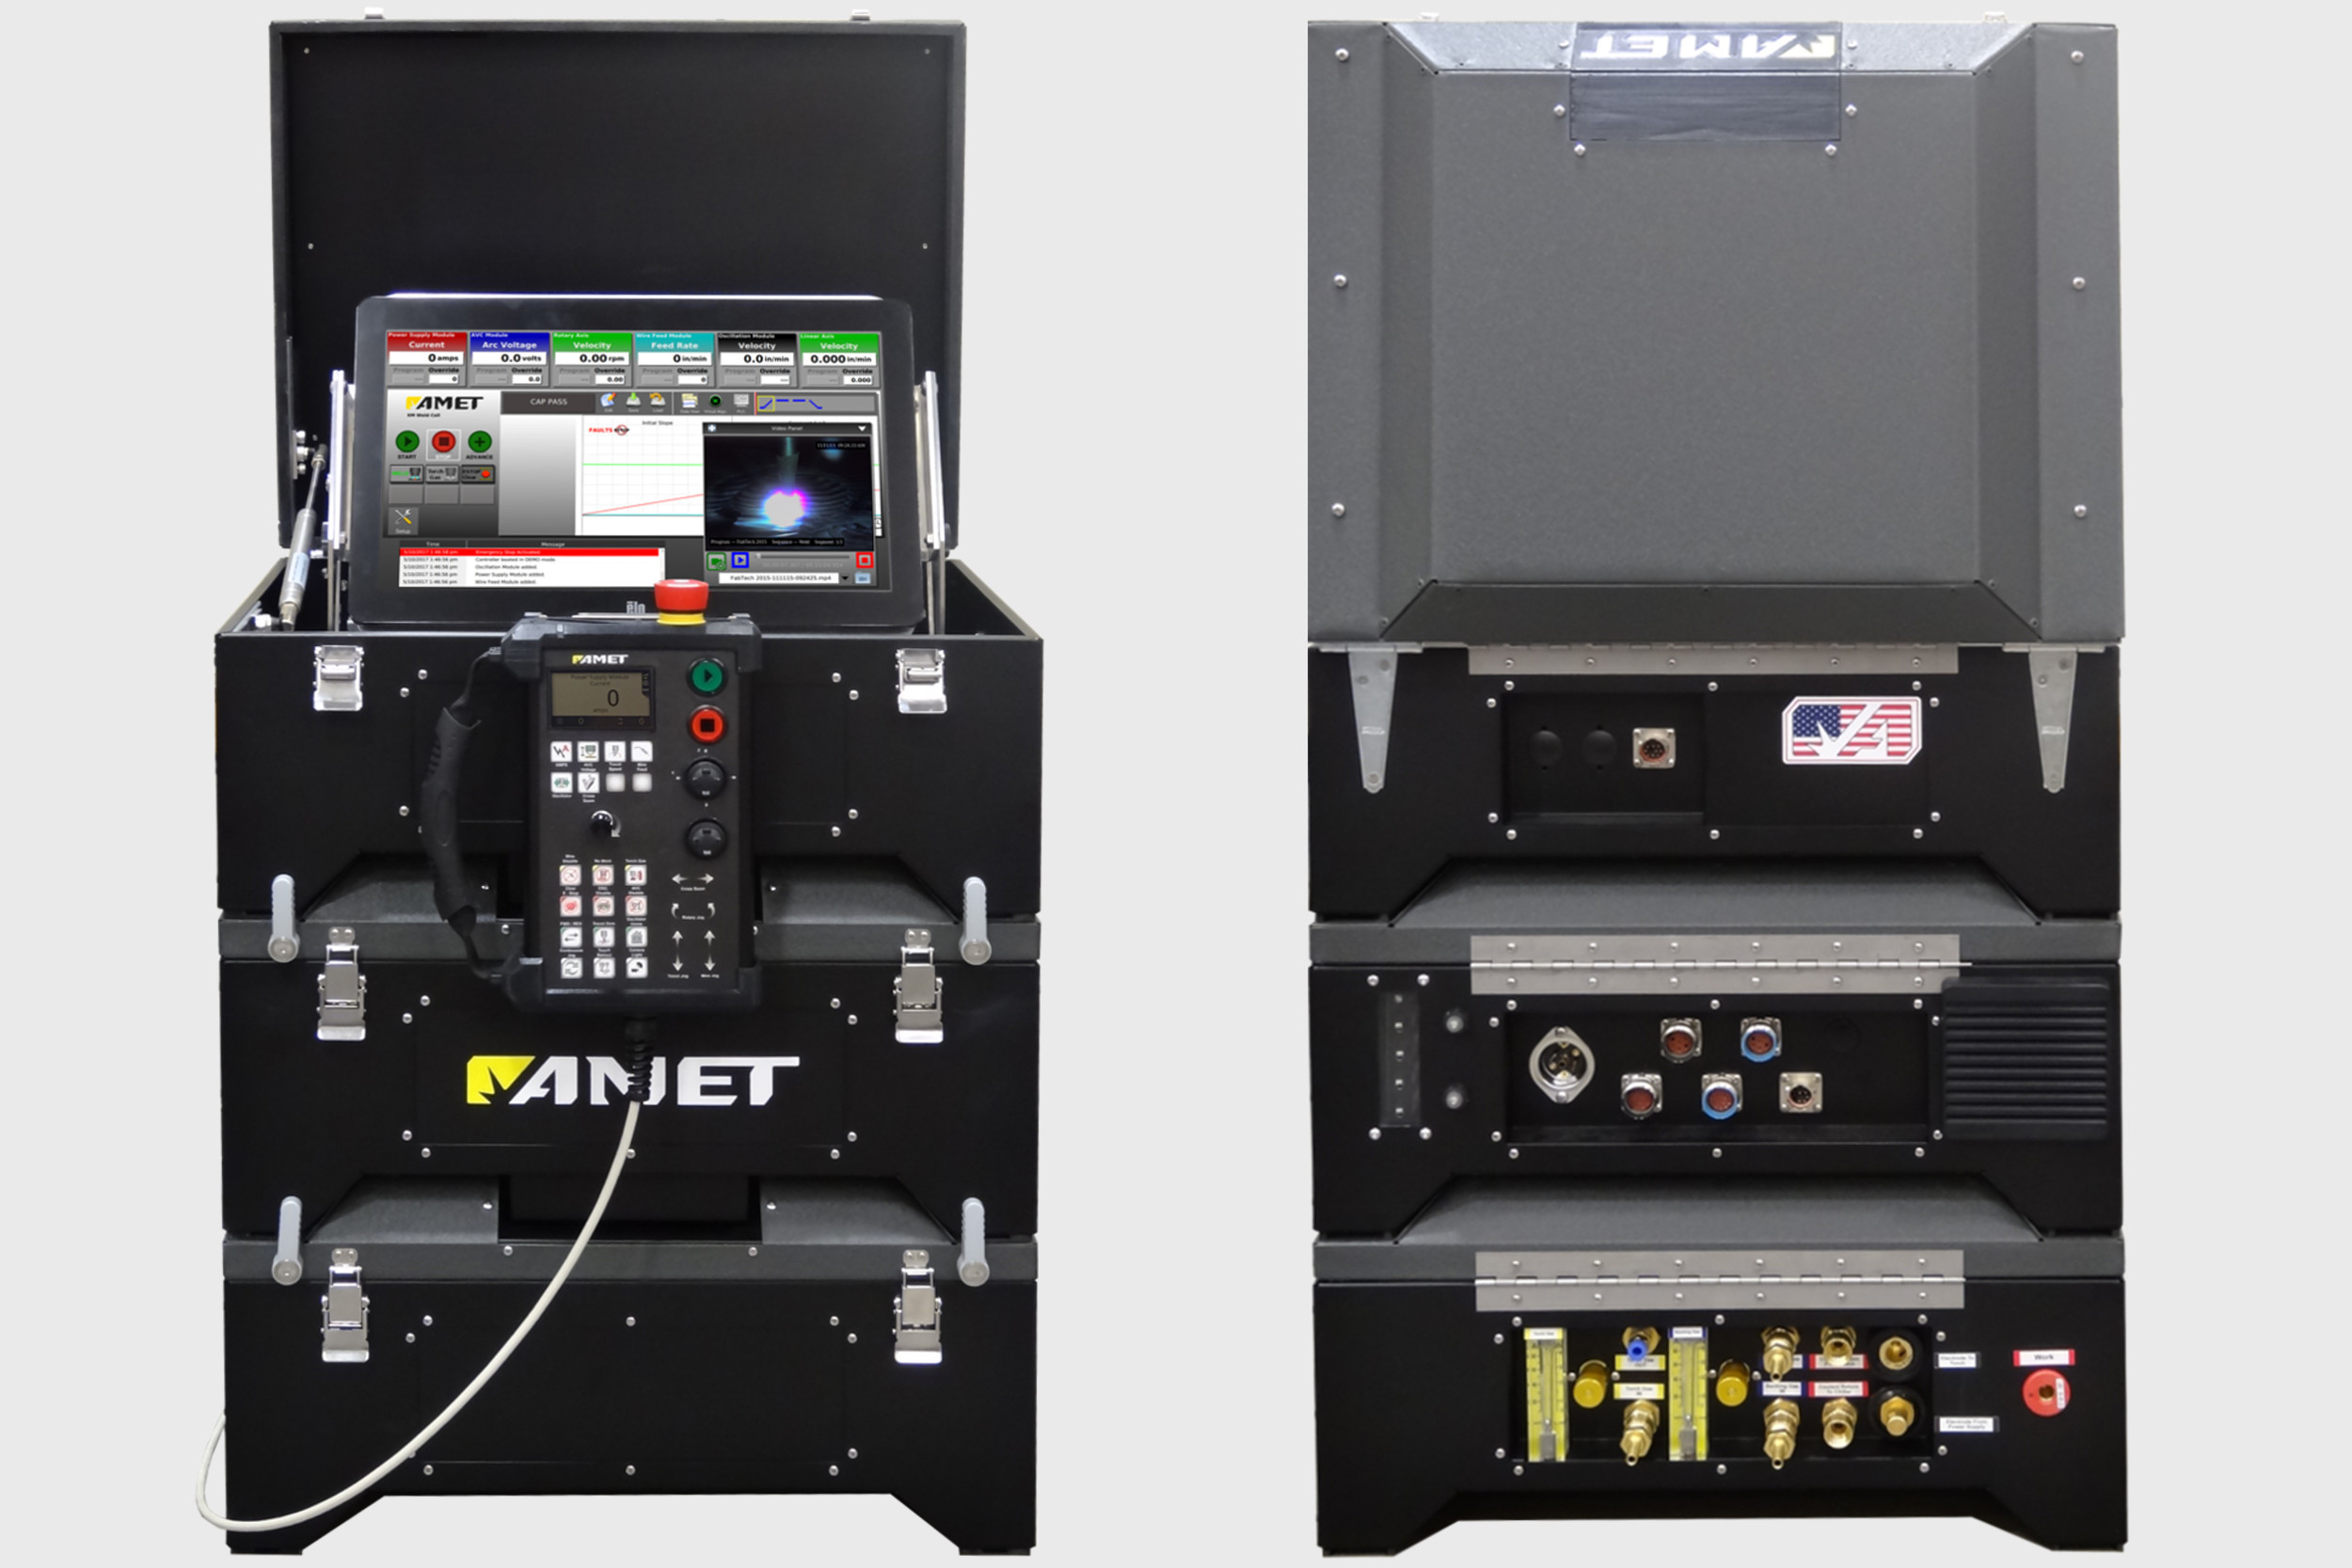
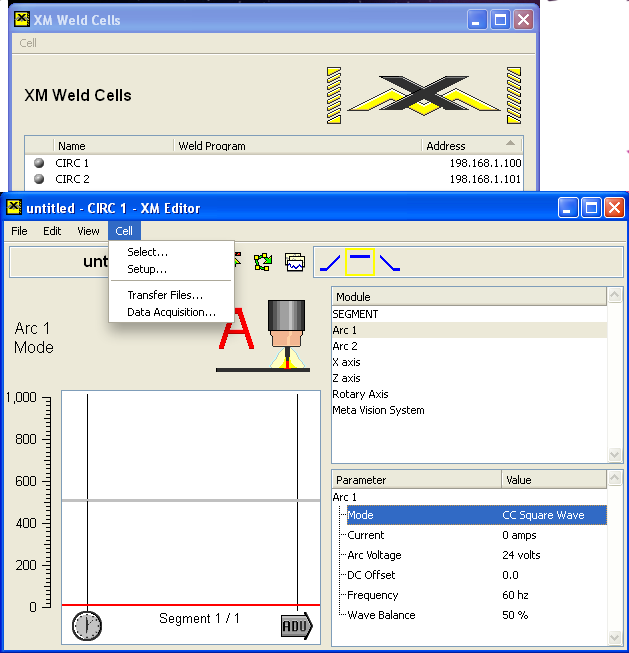
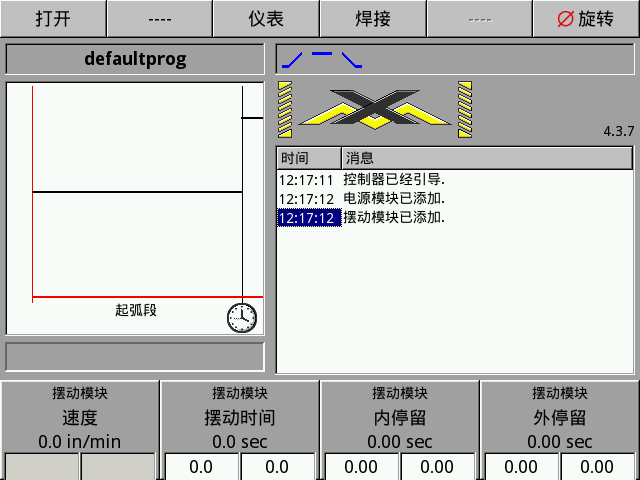
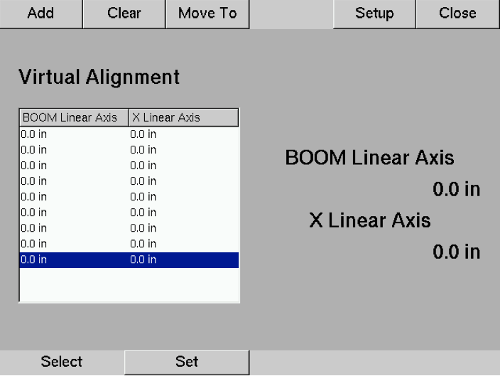
The human machine interface includes an LCD touchscreen. The Weld, Edit, and Setup Modes, and their program screens are intuitively presented on the touchscreen for program creation and execution. Simply tap the corresponding area to open the menu, and then use the keyboard for data input.
2
The digital meters display the programmed, actual, and override values of a weld parameter to allow real- time monitoring of the welding process. Up to six (6) meters are displayable simultaneously on the touchscreen monitor with one (1) displayable at a time on the remote pendant. The operator can easily adjust which meters are displayed and can toggle through several parameters for each meter.
3
The screen graphically displays the current weld segment of the program, including the upslope and downslope. The current segment as well as the total number of segments in the weld program are displayed. This information helps the operator monitor the exact status of the current weld program.
4
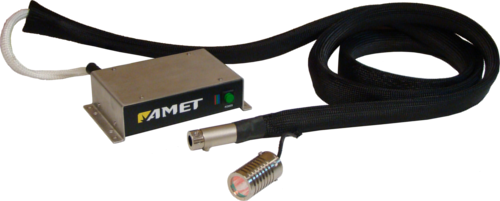
Video integration is built into the monitor. A popup window can be opened to display the real-time video feed without the need for an additional monitor. The window can be increased to about twice the size of the window displayed in the picture to the left. Arc Viewing Cameras are available as an option.
5
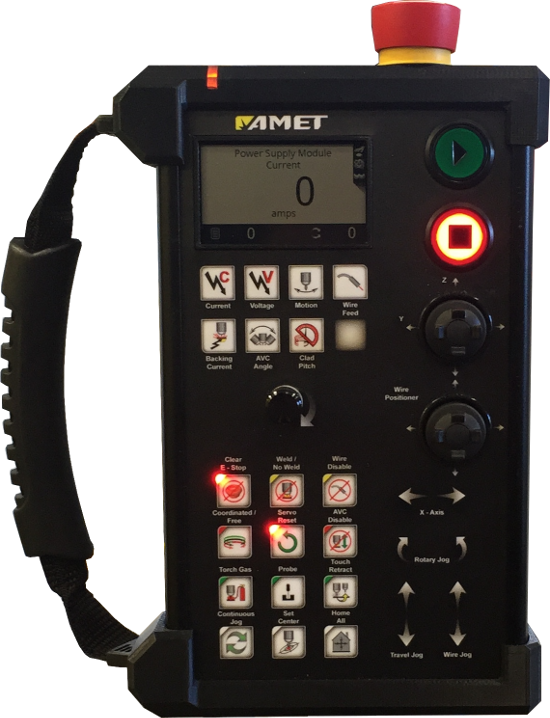
The Emergency Stop (E-Stop) button immediately aborts the weld program and ceases all motion.
6
The remote handheld pendant includes two joysticks and four sets of soft keys for eight axes of jogging motion control. These are used for positioning the parts and weld head prior to the weld and can be used to make adjustments during the weld. The pendant is also used for monitoring the weld and override capabilities.
7
A keyboard with a built-in touch pad is included to quickly and easily input or change parameters while creating or editing weld programs. A fold down tray is included to house the keyboard and keep it within reach while using the touchscreen.
8
Tapping the Mode icons (Weld, Edit, and Setup) puts the controller into its corresponding mode of operation. Controller and module preferences and settings are addressed in the Setup Mode while weld programs (or schedules) are built in the Edit Mode, then executed in Weld Mode.
9
The Sequence icons (Start, Stop, and Advance) are used during weld program operation. The Start icon activates the currently loaded weld program. The Stop icon terminates any running process or operation and advances to the downslope segment. The Advance icon initiates the next programmed event. Start and Stop buttons are also located on the handheld pendant for remote operation of the weld program.
